
Creating a Crochet Modern Granny Square: A Stylish Twist can elevate your home décor, infusing warmth and color into any room. This engaging project combines creativity with functionality, allowing you to craft beautiful pieces that can serve various purposes, from blankets to decorative pillows.
Imagine the satisfaction of transforming simple yarn into stunning designs that brighten your living space. This project is perfect for cozy evenings at home or as a delightful gift for special occasions, making it an ideal pursuit for beginners and seasoned crafters alike.
– Easily adaptable patterns allow you to customize colors and sizes for any space.
– The vibrant textures and designs add visual interest and charm to your home.
– Perfect for both personal use and thoughtful handmade gifts for friends and family.
– Learn essential crochet skills while creating something practical and beautiful.
Materials for Crochet Modern Granny Square: A Stylish Twist
Here’s what you’ll need to create this beautiful home project:
The complete materials list, including measurements, is provided in the project details below.
How to Create Crochet Modern Granny Square: A Stylish Twist
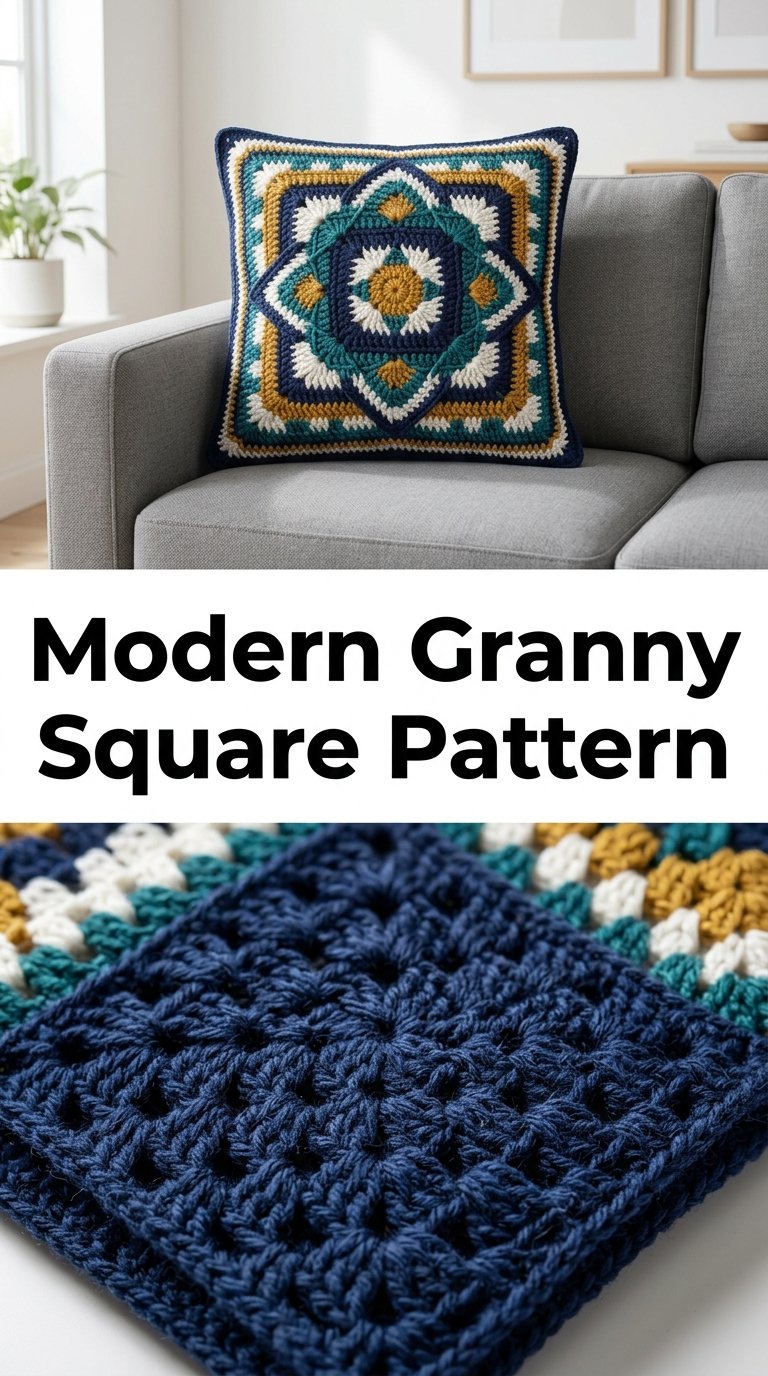
Follow these simple steps to create this beautiful home project:
Step 1: Prepare Your Workspace
Prepare your workspace by ensuring it is clean and organized. Gather all necessary materials listed above and find a comfortable spot with good lighting.
Step 2: Make Your Slip Knot
Start by creating a slip knot on your crochet hook. This initial step sets the foundation for your granny square.
Step 3: Chain Stitch
Chain four stitches after your slip knot. This creates the beginning of your square. Join the chain with a slip stitch to form a ring.
Step 4: Create Your First Round
Chain three (this counts as your first double crochet), then double crochet into the center of the ring. Continue adding two double crochets followed by a chain two stitch three more times. You should have four groups of double crochets.
Step 5: Build Additional Rounds
For each new round, start with a chain three again, followed by two double crochets in the corner spaces created from the previous round. Repeat until you achieve your desired square size.
Step 6: Finishing Touches
Once you’ve completed the desired number of rounds, cut the yarn leaving about six inches, then pull through the loop on your hook to secure it. Weave in any loose ends using the tapestry needle.
Enjoy your beautiful new home addition and share your success with others.
Perfecting the Home Project Process
To achieve efficiency and perfect results, start by preparing all materials before beginning your project. Follow the steps in a logical order to ensure each phase flows smoothly into the next, reducing chances for errors.
Add Your Personal Touch
Customization can elevate your project significantly. Consider incorporating unique color choices, decorative elements, or optional enhancements that reflect your personal style and preferences. This will transform a standard creation into something special.
Caring for Your Creation
To preserve the quality of your project, maintain it by regularly checking for wear and tear. Clean surfaces gently and store items properly to avoid damage. Regular care will keep your work looking fresh and vibrant.
– Always measure twice before cutting materials to avoid costly mistakes and ensure a perfect fit.
– Use high-quality tools for better precision; investing in good equipment pays off in the long run.
– Don’t rush through tasks; taking your time will enhance both the quality and enjoyment of the project.
Sharing my experience, I once received heartfelt compliments from friends after completing a home improvement project. Their admiration fueled my passion for creating beautiful spaces, reminding me how meaningful these projects can be.
Conclusion for Crochet Modern Granny Square: A Stylish Twist
Creating a crochet modern granny square offers a delightful way to enhance your home with personalized decor elements. This project allows you to explore various color combinations while developing your crochet skills. Whether you choose to make blankets, cushions, or wall art, each piece adds charm and warmth to your living space. Embrace this stylish twist in your home improvement journey, and enjoy the creativity that comes with crafting unique crochet items!
FAQs
How can I incorporate crochet into home decor?
Crochet adds a warm, personal touch to any home decor. You can create items like cushions, throws, or wall hangings using various crochet patterns. For a modern twist, consider making a crochet modern granny square that combines various colors and textures. These squares can be sewn together to form larger items like blankets or table runners, elevating your space with handcrafted charm.
What are some easy DIY gardening projects for beginners?
For beginners, starting with simple DIY gardening projects is essential. You can create herb planters from recycled containers or make raised garden beds from wooden pallets. Another fun idea is to build a vertical garden using wall-mounted pockets for plants. These projects enhance your garden’s aesthetics while allowing you to grow herbs and flowers effortlessly.
How do I care for indoor plants effectively?
Caring for indoor plants involves understanding their specific needs. Ensure they receive adequate sunlight, water them when the top inch of soil feels dry, and use quality potting mix. It’s also essential to provide proper drainage to prevent root rot. Regularly dusting leaves and fertilizing during the growing season can help keep your indoor plants healthy and thriving.
What are the best practices for organizing gardening tools?
Organizing gardening tools can greatly improve efficiency in your home improvement projects. Start by categorizing tools based on their function—like hand tools, power tools, and accessories. Use pegboards or toolboxes to store them neatly. Labeling shelves or bins helps you quickly find what you need when working on your garden or DIY projects.


